


When creating a new article, you must save your first draft before uploading any images (select Keep Editing, click Save Changes). After you've saved your draft the image upload area appears below the article content editor.
Uploading images is very straightforward. For every article you write you should create a special, default image. The default image should be 300 pixels wide by 200 pixels high. After uploading your default image, click on it in the image editor, then click Set as Default. The default image you choose is the one used to promote the article throughout the site. Scroll down to Featured Article Preview and click Refresh. This shows you how your default image will look and how your article will be promoted, site-wide.
Articles that are submitted without a default image will not be approved for publication.
You can upload up to 9 more images for use within your article. After uploading an image, click on it in the image editor, and you can easily copy-and-paste the image's HTML code directly into your article. Copy-and-paste the Code portion, not the URL portion.
Image Examples
Below are some screen shots from other Way Universe articles. For each screen shot the HTML code is posted below it. To utilize that type of layout within your own articles, copy-and-paste the code and change the image URL to the URL for an image you have uploaded.
Centering An Image At The Top Or Between Paragraphs
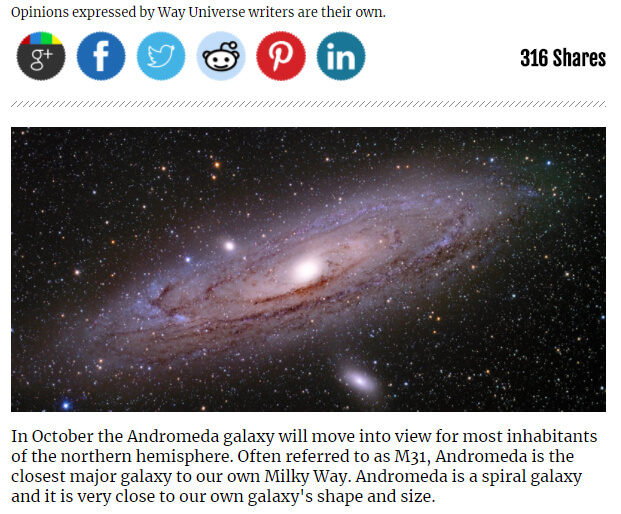
CODE:
<div style="text-align:center; padding:0 0 10px 0;">
<img class="article" src="/article_picts/23/15008997386351.jpg" />
</div>
Change the highlighted portion in yellow to reflect an image you have uploaded. Here you put the URL snipet for your own image.
This type of image layout works best for images that are at least 600-800 pixels wide.
If you would like to include an caption directly below the image, use this HTML code instead:
CODE:
<div style="text-align:center; padding:0 0 10px 0;">
<img class="article" src="/article_picts/23/15008997386351.jpg" /><br />
<span style="font-size:13px; font-weight:bold;">YOUR CAPTION TEXT HERE</span>
</div>
Floating An Image To The Left, With Text Wrapped Around
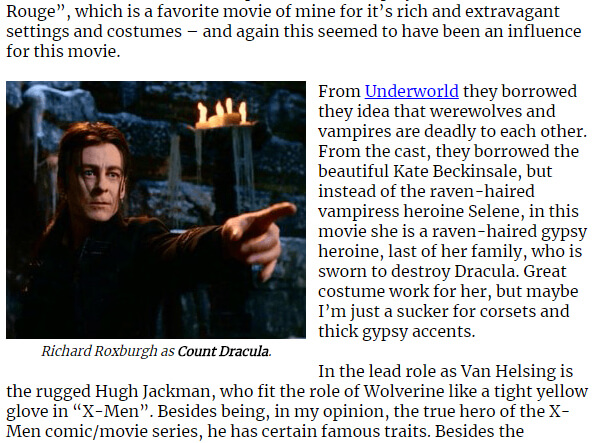
CODE:
<div class="article" style="float:left; padding:0 12px 4px 0; font-size:13px; text-align:center;">
<img class="article" src="/article_picts/103/15024314149718.png" /><br />
<i>Richard Roxburgh as <b>Count Dracula</b>.</i>
</div>
This type of layout is best used for images that are 300 or less pixels wide.
Floating An Image To The Right, With Text Wrapped Around

CODE:
<div class="article" style="float:right; padding:0 0 4px 12px; font-size:13px; text-align:center;">
<img class="article" src="/article_picts/104/15024366654385.png" /><br />
<i<The Yavapai</i>
</div>
This type of layout is best used for images that are 300 or less pixels wide.
Video Example
You can embed YouTube videos in your articles. Find the video you like at YouTube, right click on the video player and select Copy Embed Code. When you paste it into your article body it will look something like:
<iframe width="638" height="361" src="https://www.youtube.com/embed/7p6huLl1ecg" frameborder="0" allow="autoplay; encrypted-media" allowfullscreen></iframe>
If you don't want the video to automatically play when the video loads, delete the autoplay; portion. The height and width will vary based on your screen resolution. As a general rule, widths between 600 and 800 pixels work best for articles. You can change the height and width, just make sure to maintain the aspect ratio.